RV Decals, Stickers, and Paint

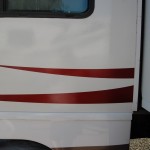
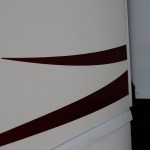
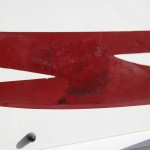
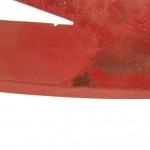
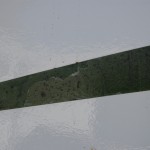
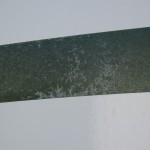
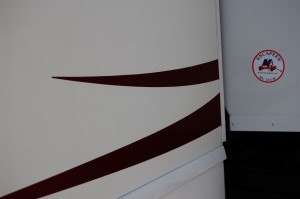
Our RV looked perfect and shiny on the outside when we purchased it back in February, 2011. About 6 months later, I started noticing that the red swoop decals on the front of the RV were doing some weird stuff, and not looking good. The one on the passenger side was really bad. It seemed to be peeling off a layer that looked like thin lacquer. In some places, it caused a black or really dark color to appear, almost making the sticker look like it was getting moldy. Later, one of the white areas, also a sticker, began to look like it had rusty bits, and then the same lacquer like peeling. While the RV was in storage, and there was a decent rain, I noticed large pieces and quantities peeling off both red stickers. Using this info, I used some high pressure water at one point to take as much of the lacquer off as I could.
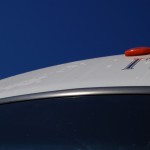
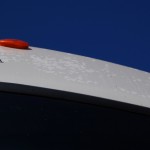
Once we got on the road, and in Indiana, I noticed the top area of the front of the coach looked like it had splotches of its normal shiny coat missing. Also, some of the other stickers began to show signs of the same splotches and peeling.
At this point, I’ve concluded that someone in the past decided to give the whole coach a clear coat, but either didn’t properly prep the surface everywhere, or the stickers just didn’t like the type used.
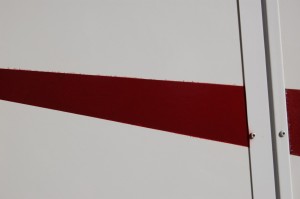
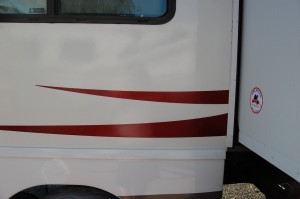
Here are a couple pictures of the current sticker and front end.
So, I’ve gotten a quote for removing the decals and painting, and it’s VERY expensive. More than we’d like to pay for something that is mostly cosmetic at this point. I started investigating sticker replacements with the exact replacements from a Winnebago supplier. These can still be pricey, and $150-$250 per sticker. Less than painting, but still too much. With all this info, I was thinking of just replacing the passenger side red sticker, as it was the worst, and the one we saw most often.
Before I ordered though, I saw a man painting some swoops of similar design on his RV, parked here at Wilderness Lakes. I stopped by to take a look, see how he was managing it, and to get a look at the results. He was a nice guy, and had gone through some of the same research that I’d done, and didn’t like the price. His stickers were simply peeling and cracking from age and exposure as they tend to do when they get closer to 10 years old.
What he did was get some really fine sand paper, and some automotive paint. In his case, he found an identical match. He sanded the surface of the sticker to prep it to hold the paint, and then wiped it down with a cleaner/degreaser. He then masked off the stickers, and had some rolls of brown paper to help prevent over-spray from getting on the rest of the coach. He then gave it some short light bursts of paint, letting it dry a bit, then giving it more, until he got to the color and look he wanted. He then came along about 10 minutes later and gave it some clear coat over the paint.
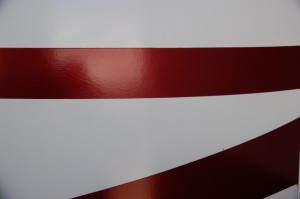
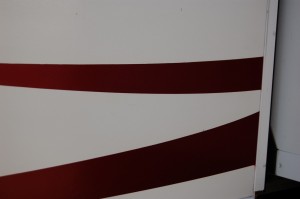
I took this idea, and gave it a whirl on our coach last weekend. I’ve only done a couple portions of the red stripe, but so far so good. I can tell I need to do better at getting the painters tape pressed in better to prevent it from running behind the tape. There’s some clean up to do when I work on this again this weekend. How does this stripe look?
 Copyright secured by Digiprove © 2012 David Gardner
